Radiobutton 组件
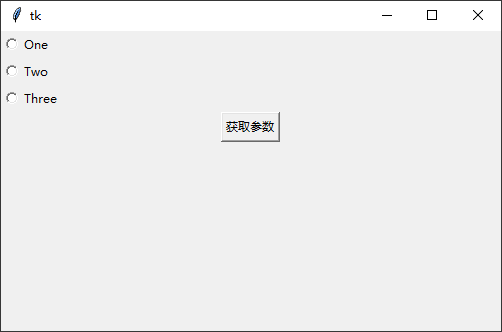
Radiobutton 组件跟 Checkbutton 组件的用法基本一致,唯一不同的是 Radiobutton 实现的是“单选”的效果。要实现这种互斥的效果,同一组内的所有 Radiobutton 只能共享一个 variable 选项,并且需要设置不同的 value 选项值:
python
import tkinter as tk

root = tk.Tk()
root.geometry("500x300+100+100")

v = tk.IntVar()

# value 是点击之后设置的值
one = tk.StringVar()
one.set("One")

# Radiobutton 共用一个 variable 是选中之后获取的值
tk.Radiobutton(root, textvariable=one, variable=v, value=1).pack(anchor=tk.W)
tk.Radiobutton(root, text="Two", variable=v, value=2).pack(anchor=tk.W)
tk.Radiobutton(root, text="Three", variable=v, value=3).pack(anchor=tk.W)


def get_value():
    print(v.get())


button = tk.Button(text='获取参数', command=get_value)
button.pack()

root.mainloop()
1
2
3
4
5
6
7
8
9
10
11
12
13
14
15
16
17
18
19
20
21
22
23
24
25
2
3
4
5
6
7
8
9
10
11
12
13
14
15
16
17
18
19
20
21
22
23
24
25

循环案例
python
import tkinter as tk

root = tk.Tk()
root.geometry("500x300+100+100")
langs = [
    ('python', 1),
    ('perl', 2),
    ('ruby', 3),
    ('lua', 4),
]

v = tk.IntVar()
v.set(1)

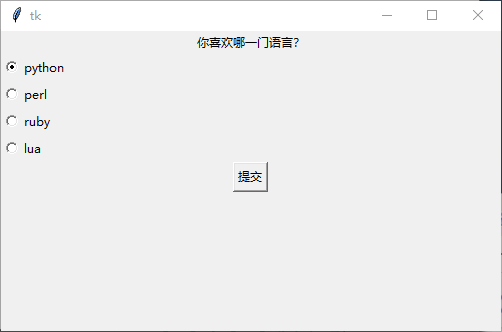
tk.Label(root, text='你喜欢哪一门语言?').pack()

for lang, no in langs:
    b = tk.Radiobutton(root, text=lang, variable=v, value=no)
    b.pack(anchor=tk.W)

tk.Button(root, text='提交', command=lambda: print(v.get())).pack()
root.mainloop()
1
2
3
4
5
6
7
8
9
10
11
12
13
14
15
16
17
18
19
20
21
22
2
3
4
5
6
7
8
9
10
11
12
13
14
15
16
17
18
19
20
21
22

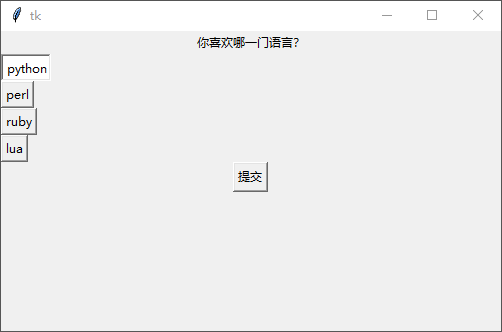
在此,如果你不喜欢前面这个小圈圈,还可以改成按钮的形式:
python
#  将 indicatoron 设置为 False 即可去掉前面的小圆圈
b = Radiobutton(root, text=lang, variable=v, value=no, indicatoron=False)
1
2
2
